Welding process
1.Tool
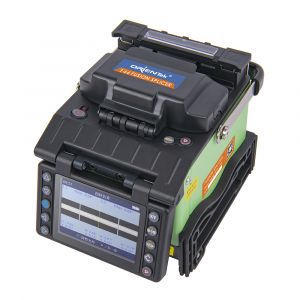
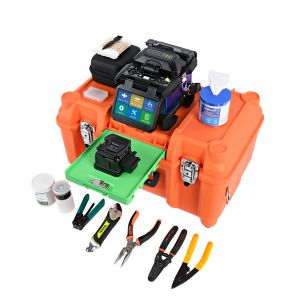
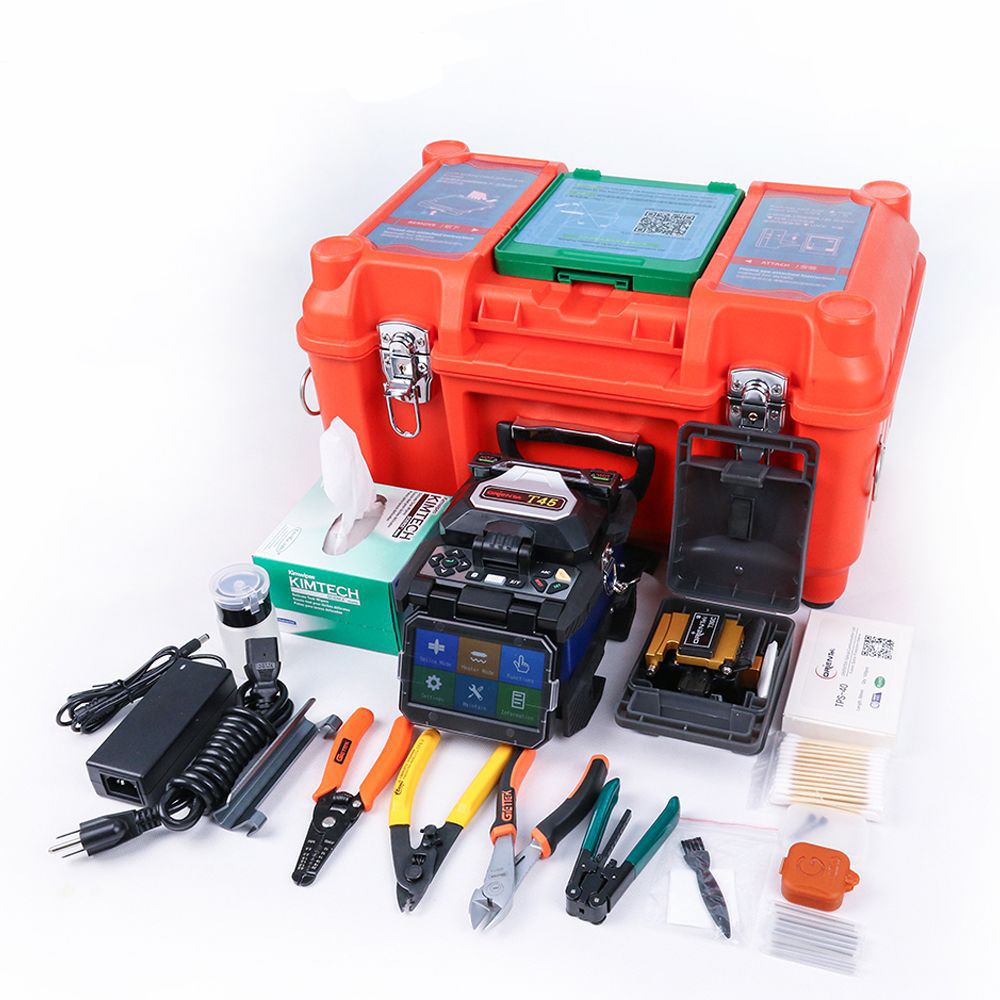
Fusion Splicer, cutting knife, optical fiber, wire stripper, alcohol (99% industrial alcohol), cotton, heat shrinkable tubing.
2. Discharge experiment
1) Purpose: to adapt the optical fiber fusion splicer to the current environment
2) Reason: better adapt to the environment, more adequate discharge, better welding effect
3)Specific methods:
(1) Add fiber and select the "discharge experiment" function. The screen shows the discharge intensity until "discharge 0K!" appears.
(2) Empty discharge, press the ARC button
The number of discharges: "The discharge is too strong, the discharge is too weak" will appear in the process, until the discharge is OK.
Discharge time:
- When the position changes (generally more than 300km)
②When the altitude changes (generally more than 1000m)
③After replacing the electrode, a discharge experiment must be done
④When the latitude changes (note that the discharge test is not done every time before welding)
3. Confirm the type of fiber you are splicing and the type of heat shrinkable tube that needs to be heated
1) Fiber type: select SM, MM, DS, NZ, etc. in the splicing mode
2) Heat shrinkable tubing type: select in the heating mode. Generally, the heat shrinkable tubing is divided into 40mm and 60mm. Of course, there are also manufacturers who customize the heat shrinkable tubing according to their own fiber fusion splicers. Don't let it appear mismatched. phenomenon.
4. Prepare the fiber
Optical fiber: core, coating, cladding.
The fusion spliced is the bare fiber, which is the core. Use a fiber stripper to strip a section of bare fiber out, clean it with alcohol cotton, and then cut it with a fiber cleaver. The cutting length is determined according to the above parameters. There is a size scale on the cleaver. Please keep the cut end face vertical., The error is generally 1°-2°, pay attention to cleaning and then cutting, the fiber core must be covered with heat shrinkable tubing before cutting.
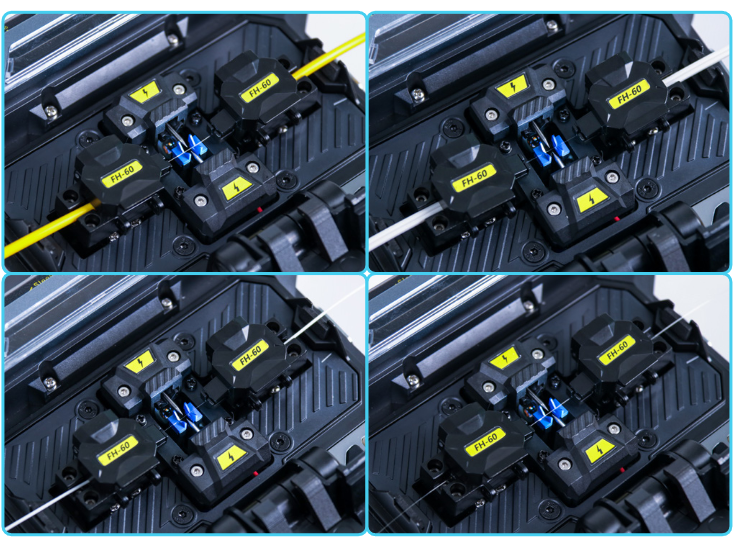
5. After the fusion spliced optical fiber is cut, put the optical fiber into the optical fiber fusion splicer, and place it at the half of the straight line of the V-groove end face and the center line of the electrode rod. Then put down the fiber presser plate, lower the presser foot (the same on the other side), close the windshield, press the SET button, and start the splicing process. The whole process takes about 15 s (different splicers are different, the same is the same), and the screen appears the magnified images of the two optical fibers, after focusing, aligning a series of positions, and adjusting the focus, begin discharge welding.
After the splicing is completed, put the heat-shrinkable tube on the part that needs to be fixed, and keep the splicing part of the optical fiber in the center of the heat-shrinkable tube, give it a certain amount of tension, and be careful not to bend the optical fiber, pull it tight, press it, and heat it. Slot, close the cover, press the HEAT button, the indicator light below will light up for about 90 seconds, the machine will warn that the heating process is complete, and the indicator light will flash continuously, take it out and cool it, so that a complete welding process is completed.

6.Sort out
Arrange the tools, put them in the designated position, clean up the trash, pay attention to the broken fiber heads when cleaning up.